Getting Started
A basic guide to get you up and running
Introduction
Our goal
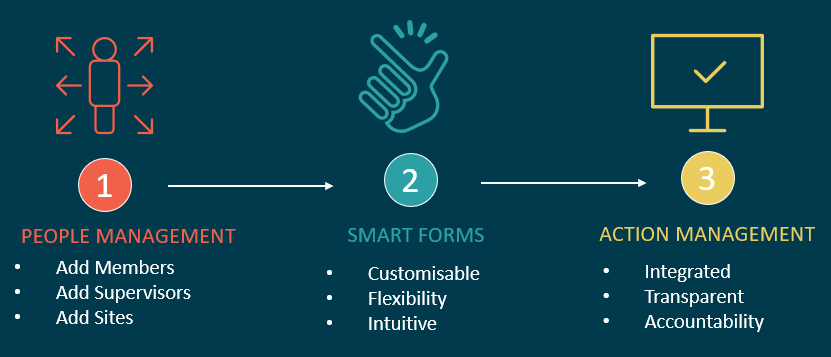
- Safety Manager aims to provide a highly flexible tool that allows to plan and manage in a fast and efficient manor that supports the way you work.
- Build checklists, conduct inspections, assign actions and report accidents.
- Customise your own templates or use one of the default templates made by EcoOnline's experienced safety professionals.
- With intelligent workflows, you can involve and engage the whole workforce to make sure all necessary safety management procedures and control measures are completed.
Set Up
- Create your own templates or use the default templates provided for each module.
- Create members individually or in bulk through the System Import section via Administration on the side menu.
- Assign supervisors to the members and assign their roles.
Access
- New users will be sent a temporary password via email. Upon logging in for the first time, users will be prompted to choose their own password.
- Depending on a users role group, you can:
- Report/investigate accidents and incidents
- Create/complete audits, risk assessments and actions
Dashboard
Access all modules assigned to your organisation.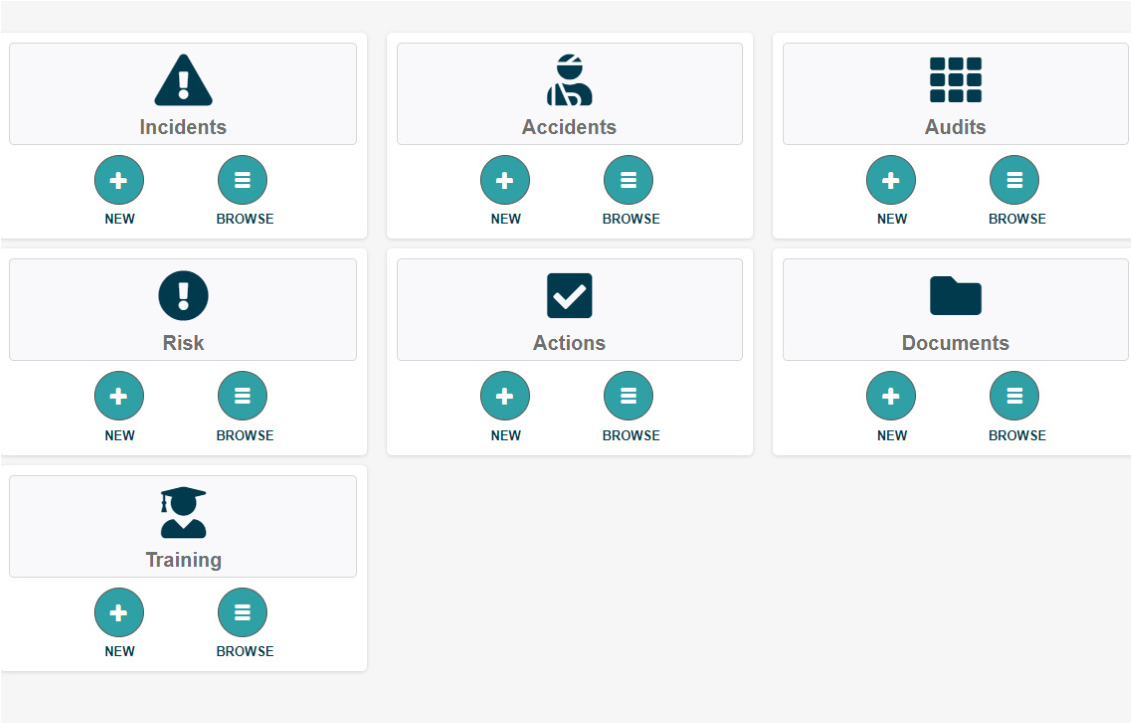
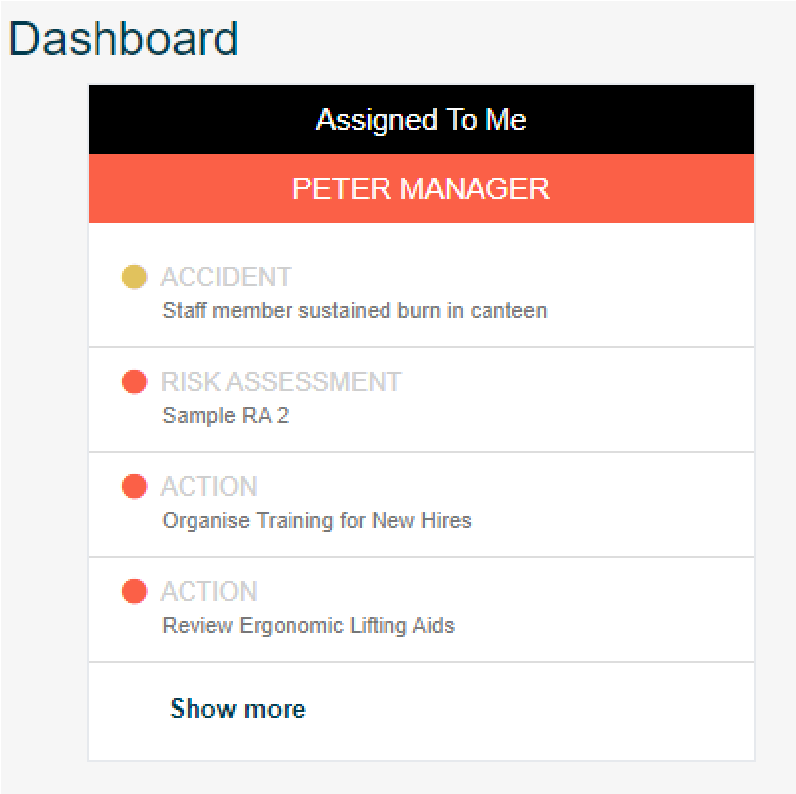
See all tasks and actions assigned to you at a glance.
Organisation Structure
Log in to Safety ManagerSelect Organisation from the menu on the left
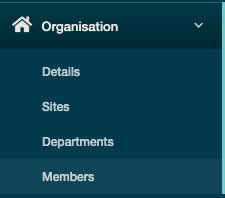
Create departments by selecting this option on the dropdown menu - then click + Department
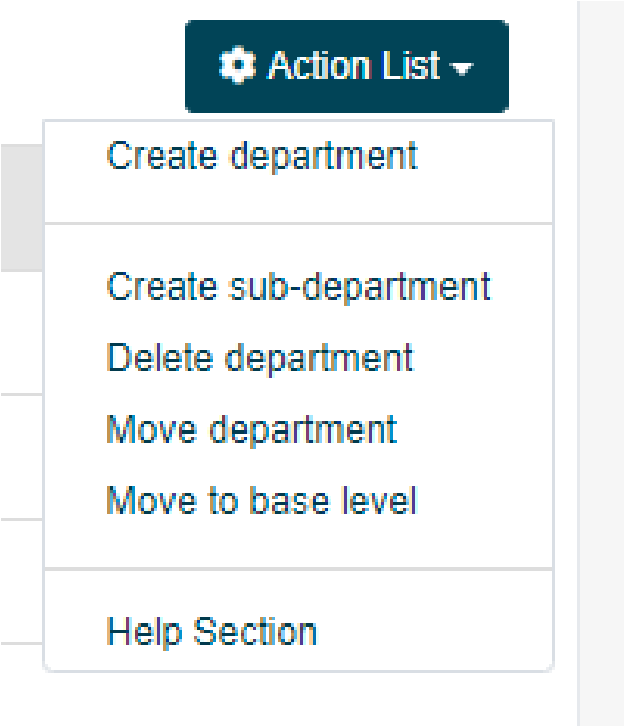
On the right hand side of the screen there is an Action List. Here you can manage departments by creating sub departments. There is also a Help Section here with useful tips.
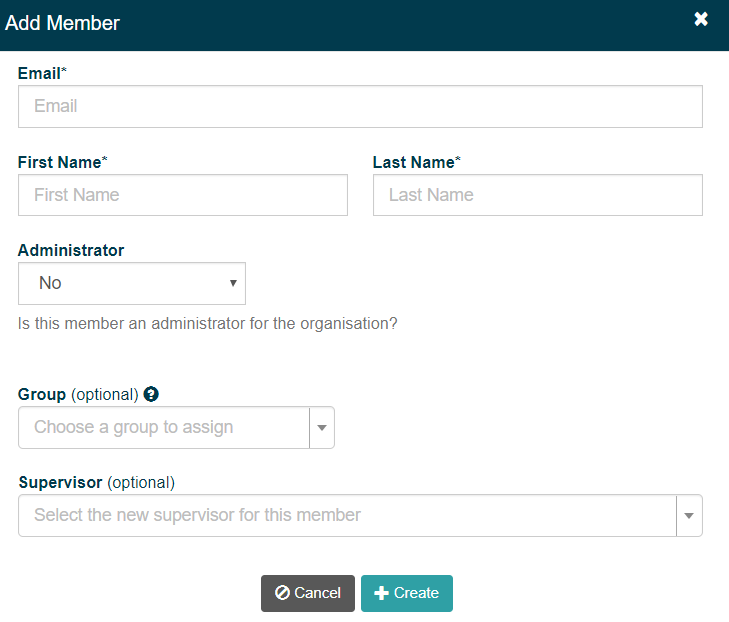
You can add members by selecting this option from the dropdown menu, then click + Member
Risk Assessments
Access the Risk Assessment module from the dropdown menu on the left of your dashboard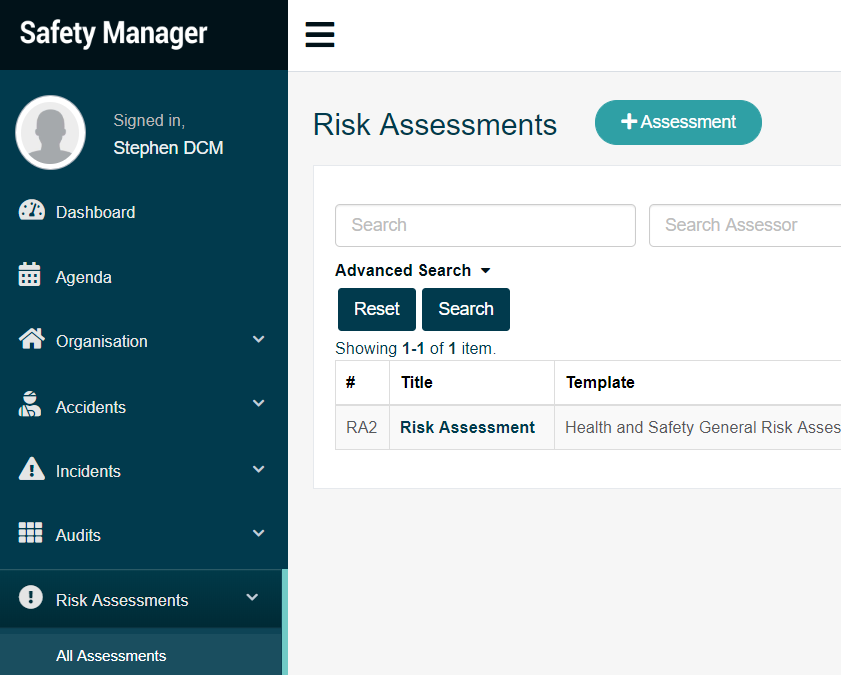
To start a new Risk Assessment click the + Create button
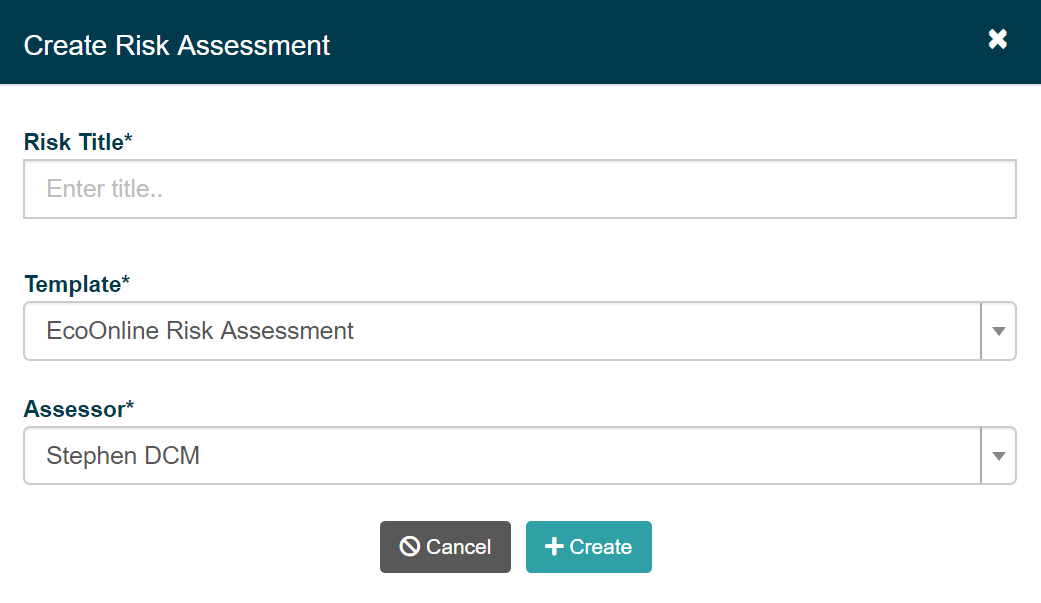
Enter your title, select the template that you wish to use and click Create. Fill in the required fields
You can save the Risk Assessment as a draft, which will allow you to go back and edit. The status will appear as New. Click view and then select the Edit Assessment button
Or
You can select Save and Publish which will complete the Risk Assessment. The status will then appear as Published. The only option to make changes once published, is to create a new revision of the Risk Assessment by clicking New Revision button.Once complete, you can view the Risk assessment in PDF format.

Audits
Access the Audit module from the dropdown menu on the left of your dashboard.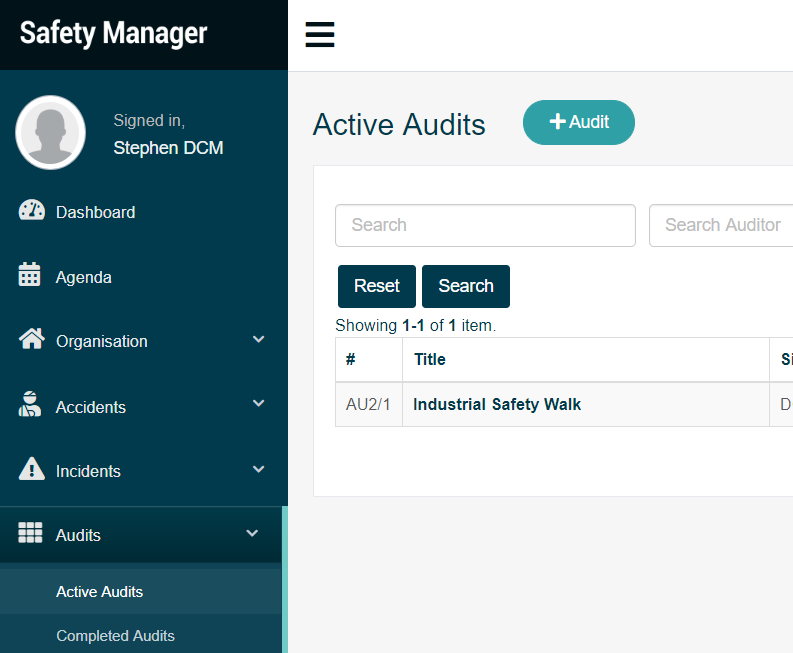
To record a new Audit click the + Audit Button.
Enter your title, select the template that you wish to use and click Create.
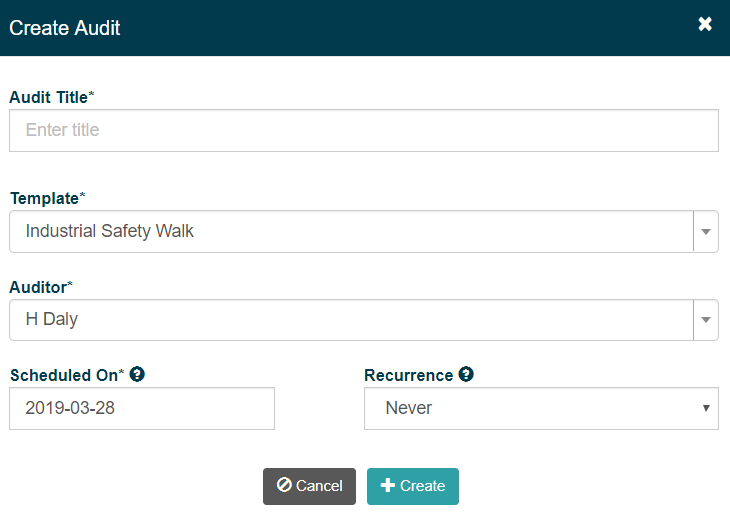
Once complete you can view the Audit in PDF format.


Active Audits lists all ongoing Audits with the next review date.

Completed Audits lists all closed Audits.

Incidents
Access the Incident module from the dropdown menu on the left of your dashboard.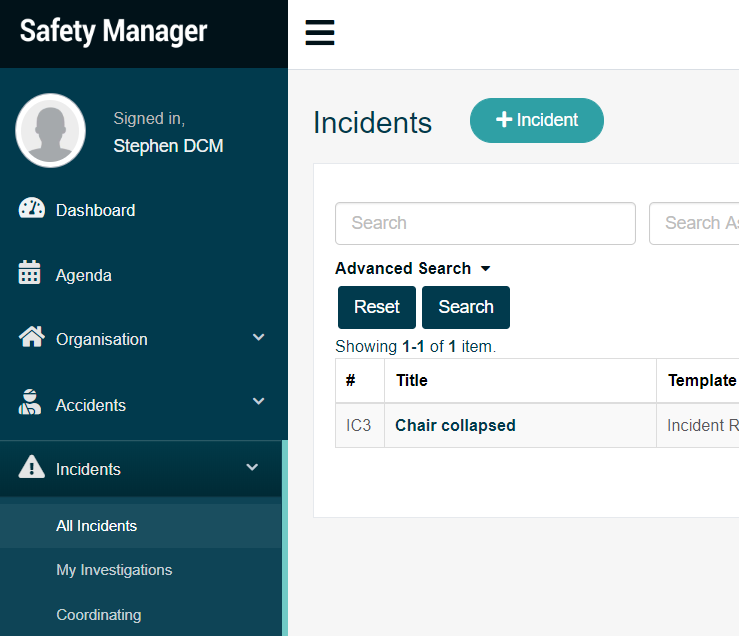
To start a new Incident report, click the + Incident button
Enter your title, select the template that you wish to use and click create.
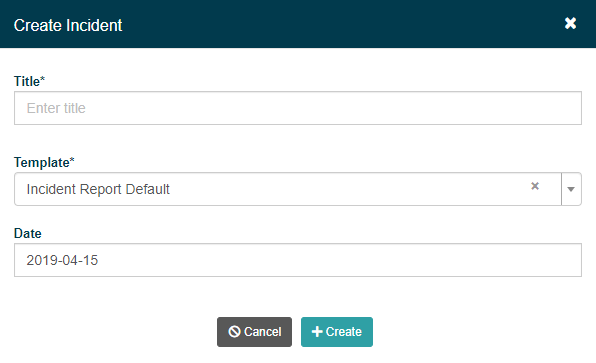
Once complete, you can view the Incident in PDF format

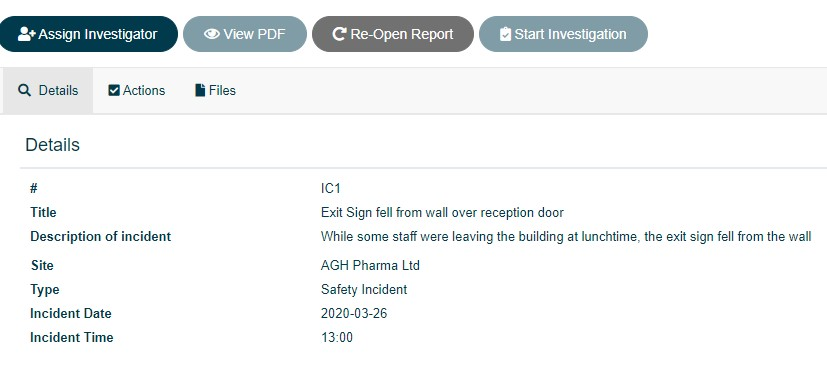
All Incidents: view a full listing recorded incidents. This lists reporter, assignee and coordinator of the incident report, along with the current status.

My Investigations: this shows all Incidents currently assigned to you to investigate.

Coordinating: shows all Incidents which you are assigned as coordinator.

Accidents
Access the Accident module from the dropdown menu on the left of your dashboard.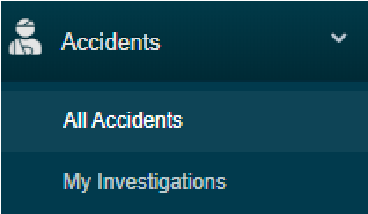
To start a new Accident report, click the + Accident button Enter your title, select the template that you wish to use and click create.
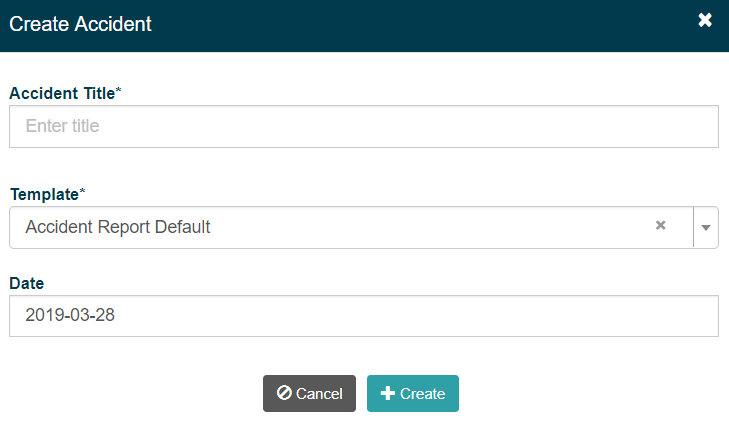
Once complete, you can view the Accident in PDF format
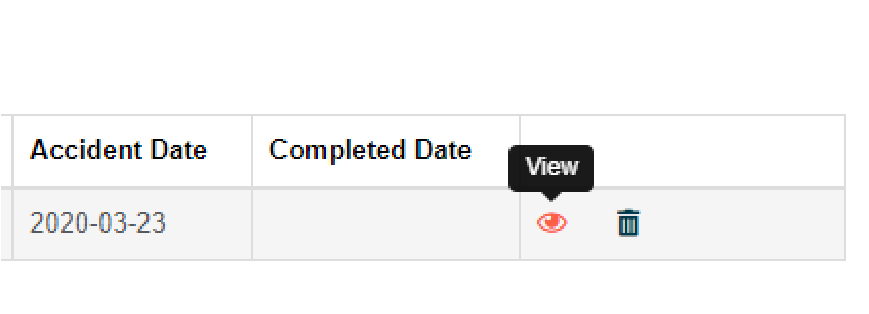
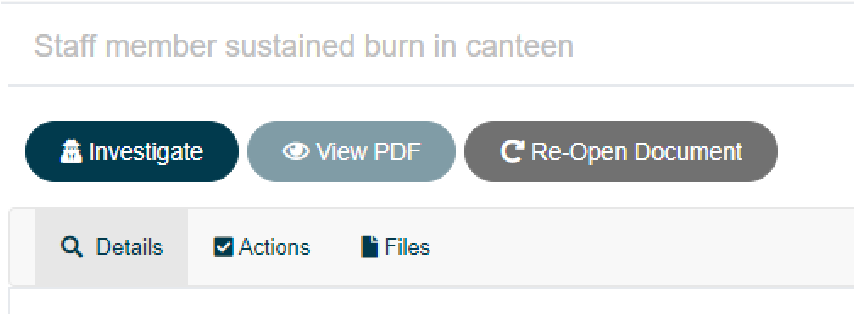
All Accidents: view a full listing recorded Accidents. This lists reporter, assignee and coordinator of the accident report, along with the current status.

My Investigations: this shows all Accidents currently assigned to you to investigate.

Coordinating: shows all Accidents which you are assigned as coordinator.

Smartforms
Access the Smartforms module from the dropdown menu on the left of your dashboard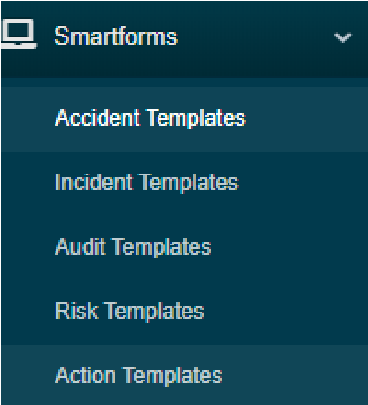
To start a new template click the + Template button Enter your title, select the template that you wish to use and click create.
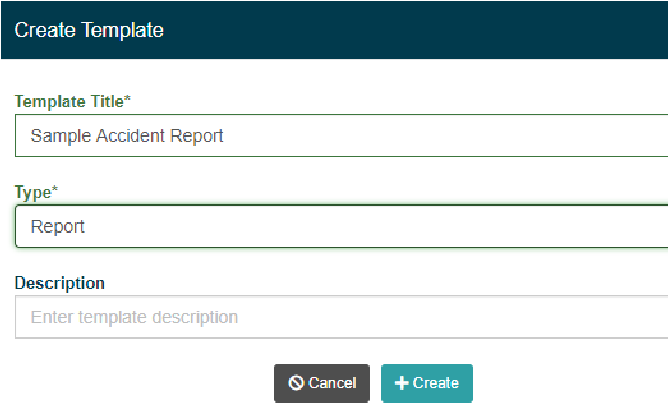
Follow the three steps as outlined below:

Drag options from the left hand side menu over to the right in order to add to your form, in the picture example here we’ve added Radio Buttons (Horizontal).
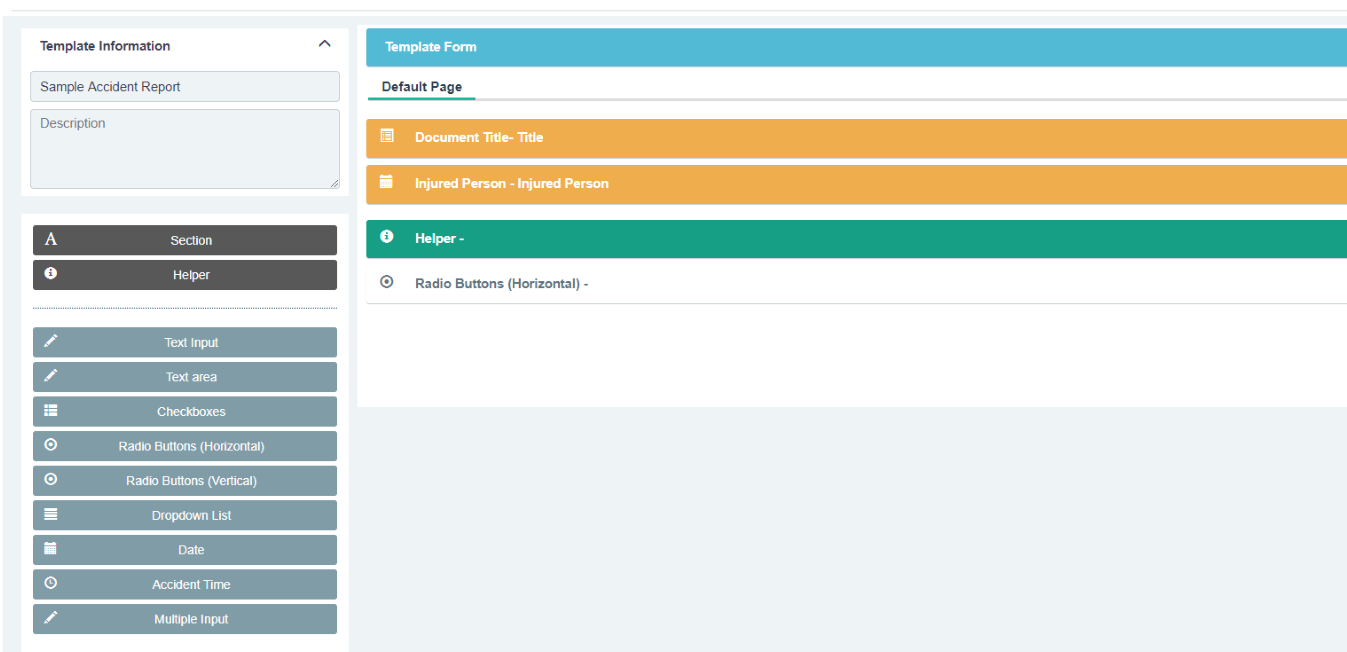
Then adjust your template settings in order to show/hide fields if desired.

Publish

